
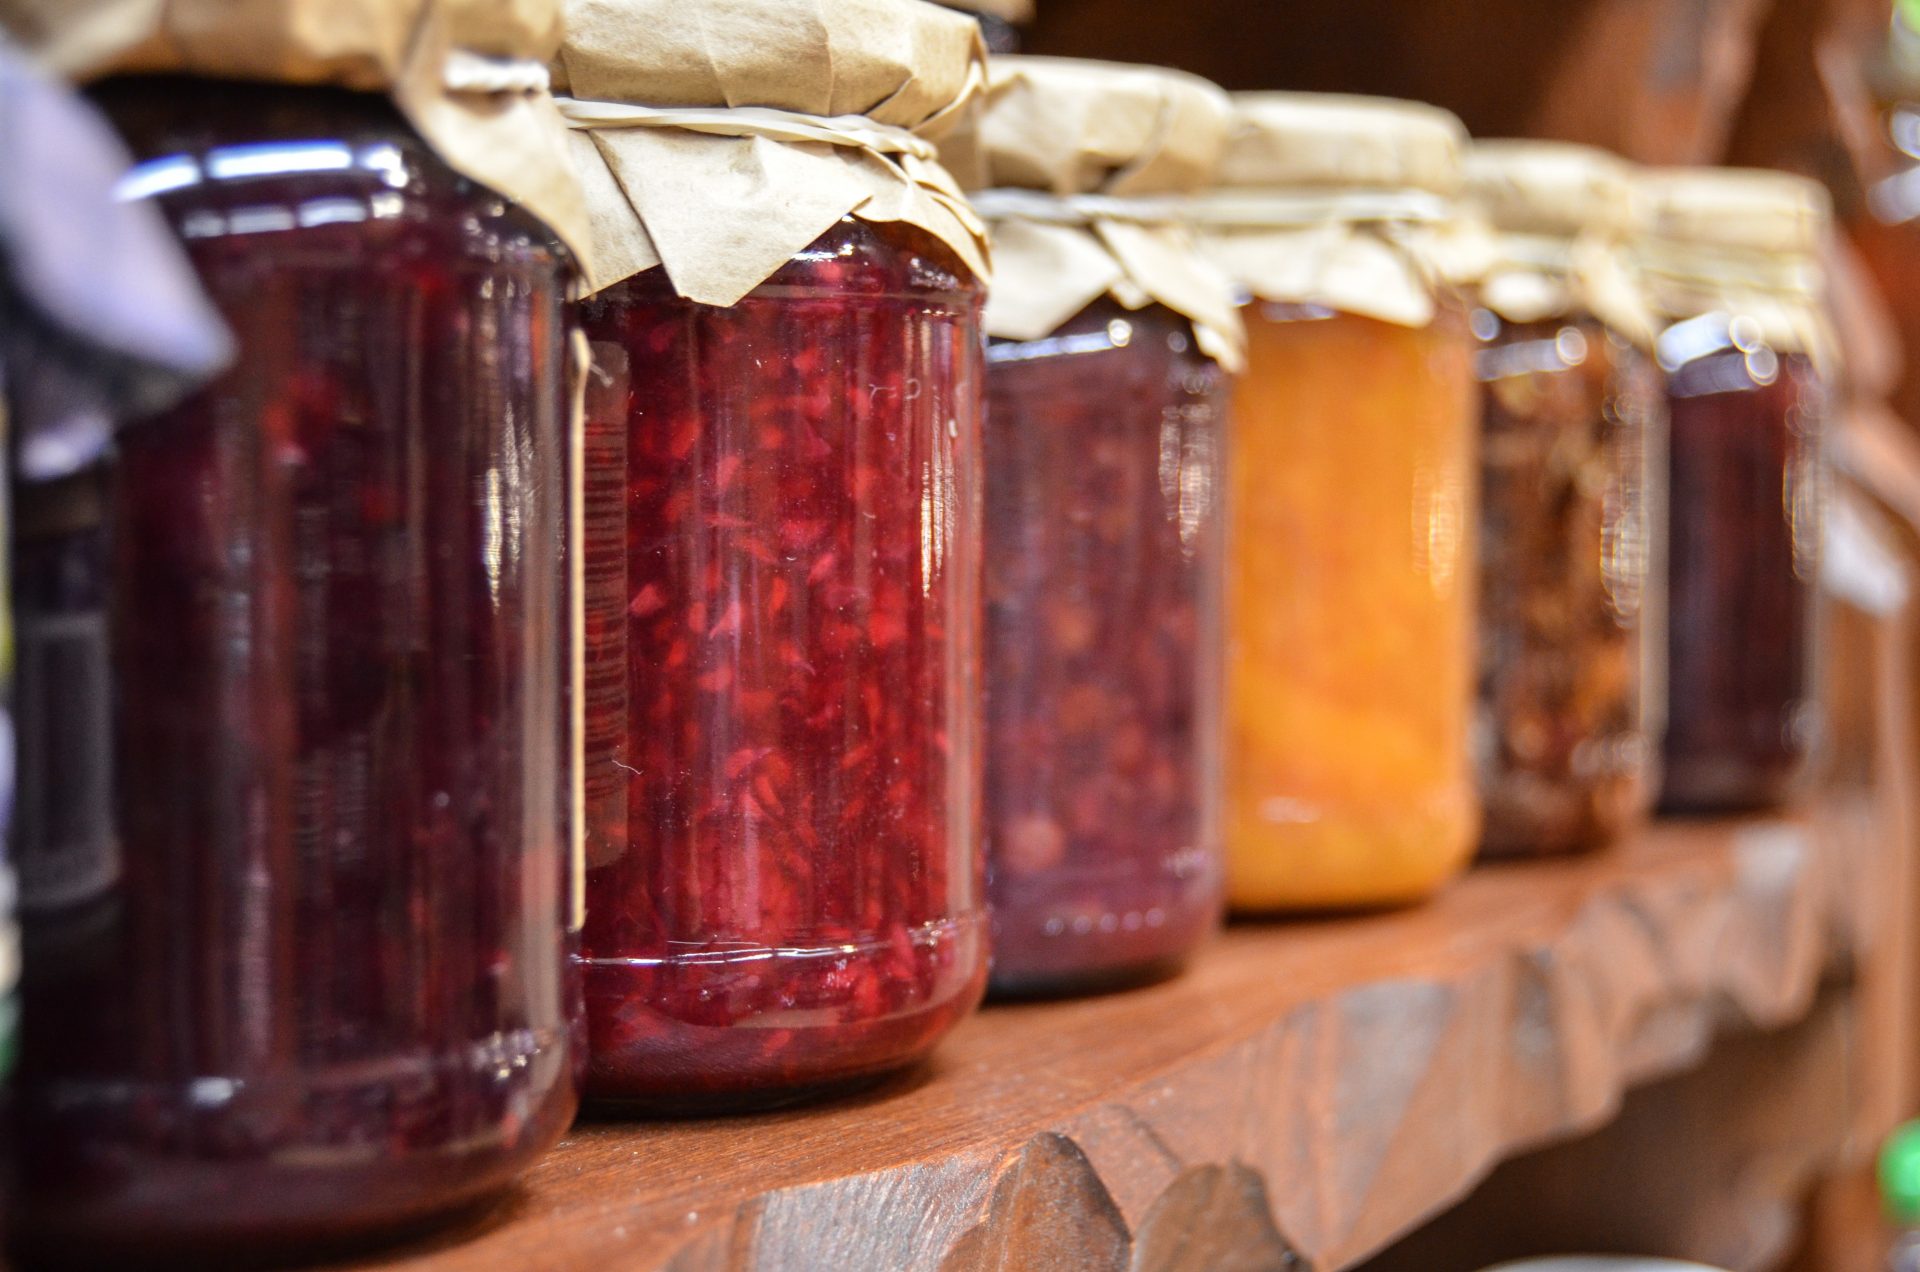
How to Make Freezer Jam
Until recently, I had never canned a blessed thing. However, when I went overboard with U-Pick strawberries at a local farm one spring, I decided to learn how to make freezer jam. It was a baby step toward real canning. I actually did use a water bath canner this past summer for the first time to make salsa and preserve tomatoes, but that’s a story for another time. For now, let’s focus on freezer jam. It’s easy and you can’t really mess it up.
Supplies You’ll Need
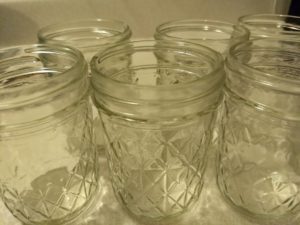
Unlike traditional canning, freezer jam requires no special equipment. You don’t need a large pot to do a hot water bath. You don’t need a pressure cooker. You don’t need a rack, giant tongs, or a lid lifter. Honestly, you don’t even need canning jars. Any freezer-safe containers with lids will do. I did opt to buy some pretty-looking freezer-safe canning jars and lids from my local grocery store because it looks nicer eating jam out of jars rather than Tupperware.
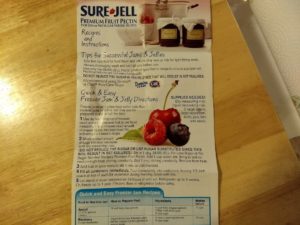
Besides containers to hold your freezer jam, you also need fresh fruit, white sugar, some water, and a box of pectin. That’s it. I bought Sure-Jell pectin in the baking supply area at my grocery store, just down the aisle from where I bought jars from among a small selection of canning supplies.
Once you buy your box of pectin, crack it open for further instructions. If you use Sure-Jell or anything similar, it will contain a pamphlet full of recipes and directions for making various jams and jellies, including freezer jam and jelly and traditional cooked jams and jellies.
Strawberry or Peach?
Decide what kind of jam or jelly you want to make — strawberry (my family’s favorite), blueberry, blackberry, raspberry-peach, apricot, peach, strawberry-blueberry, and so on. My Sure-Jell pamphlet even has instructions for hot pepper jelly.
The directions will tell you how much fruit you need (usually listed in pounds or cups) and how much sugar you’ll need. The sugar acts as a bit of a preservative, and jams and jellies need a lot of it, even though the fruit you’re working with is already sweet. If you’re watching your sugar intake, look for the special box of pectin that says it can be used in less sugar or no sugar needed recipes.
Once you know what you want to make, get yourself some fresh fruit (or get some fresh or bottled juice if you’re making jelly instead of jam). As I mentioned earlier, I made my first batch of freezer jam with strawberries I picked at a local farm. I’ve made strawberry freezer jam a few times since then with berries purchased at a small family-owned produce and spice shop because it tends to have quality produce. If you grow your own fruit, you can use it. It’s all about getting quality ingredients. You’ll want to make jam as soon as possible after you get your hands on your fruit, so you can preserve it at its best flavor.
When Life Gives You Fruit, Make Jam
When you go to make jam or jelly, the first thing to do is wash your jars or containers in hot soapy water and dry them.
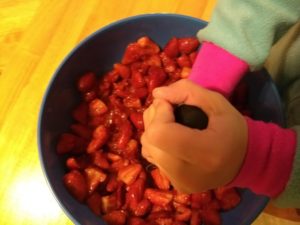
Then, cut, chop, crush, smash, or mash your fruit according to the directions inside the pectin box. I hand my kids a potato masher and let them do this job. Some recipes call for adding lemon juice at this time, so check your recipe.
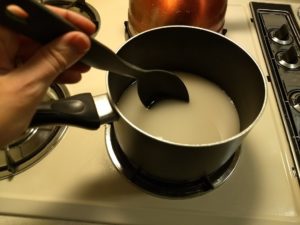
Measure the appropriate amount of sugar into a large saucepan. Add the pectin. Add water (my Sure-Jell pamphlet says to add 1 cup of water). Bring this mixture to a boil on medium-high heat, stirring constantly. Boil for 1 minute, still stirring constantly.
Then add the sugar, water, and pectin mixture to your crushed or chopped fruit. Stir for 1 minute or until blended.
Fill all of your jars or containers immediately. Remember to leave a 1/2 inch of space at the top to allow for the jam to expand during freezing. Fasten lids onto the containers.

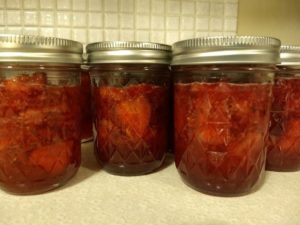
This next part sounds counter intuitive, but trust me. Let your jars or containers of jam or jelly stand on the counter at room temperature for 24 hours.
That’s right. Let it sit out.
I’m a big food safety advocate. A couple of experiences with food poisoning will do that to a person. When I’m at social events at other people’s houses, I make note of the time when food is served, and two hours later if food is still sitting on the counter, I usually say something like, “Let’s get this food put away.” I’m known to put food away in other people’s refrigerators.
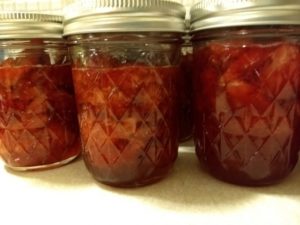
So it freaked me out to read that this jam, which is preserved by freezing, is supposed to sit on the counter for an entire day. But the Sure-Jell people know what they’re doing. I followed their instructions, and no one has ever gotten sick. So it’s okay. Leave your jam on the counter for a day. This is the time when your jam will set, or thicken, and get that familiar gooey, gel-like consistency we know and love. Then after a day, tuck your jam all away in the freezer.
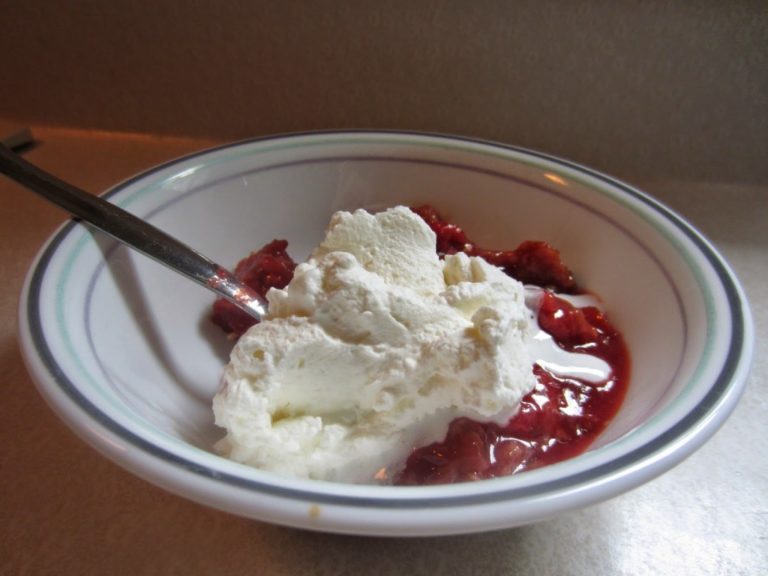
If your jam doesn’t set after 24 hours, the Sure-Jell pamphlet has advice on what to do to save the jam, which includes buying more pectin. Even if it doesn’t thicken, though, it still makes a nice syrupy topping for ice cream.
How to Store Your Jam
Once frozen, the jam or jelly will keep for about a year. When you want to open a jar, thaw it in the fridge first. Once opened, jam will be good for about three weeks if stored in the fridge. (But my family and I have been known to eat our jam after it’s been in the fridge for probably double that amount of time, and we’ve experienced no ill effects. Trust your sense of smell, sight, and taste to guide you; if it doesn’t smell, look, or taste good, throw it out. That being said, I’ve never had to throw any jam out.)
And there you have it. Freezer jam is easy and delicious, and I recommend it as a baby step toward learning how to do hot water bath canning or pressure canning. I buy very little jam or jelly from the grocery store now because my family prefers strawberry freezer jam over everything else.
Happy jam-making!

This is my second surprise for today…and definitely more pleasant than the first. (If you’re curious, it was this short film: https://www.kanopy.com/en/product/5608281)
I had no idea you can “can” without all the fuss and bother of the hot water or pressure cooker methods. Thank you, again.